
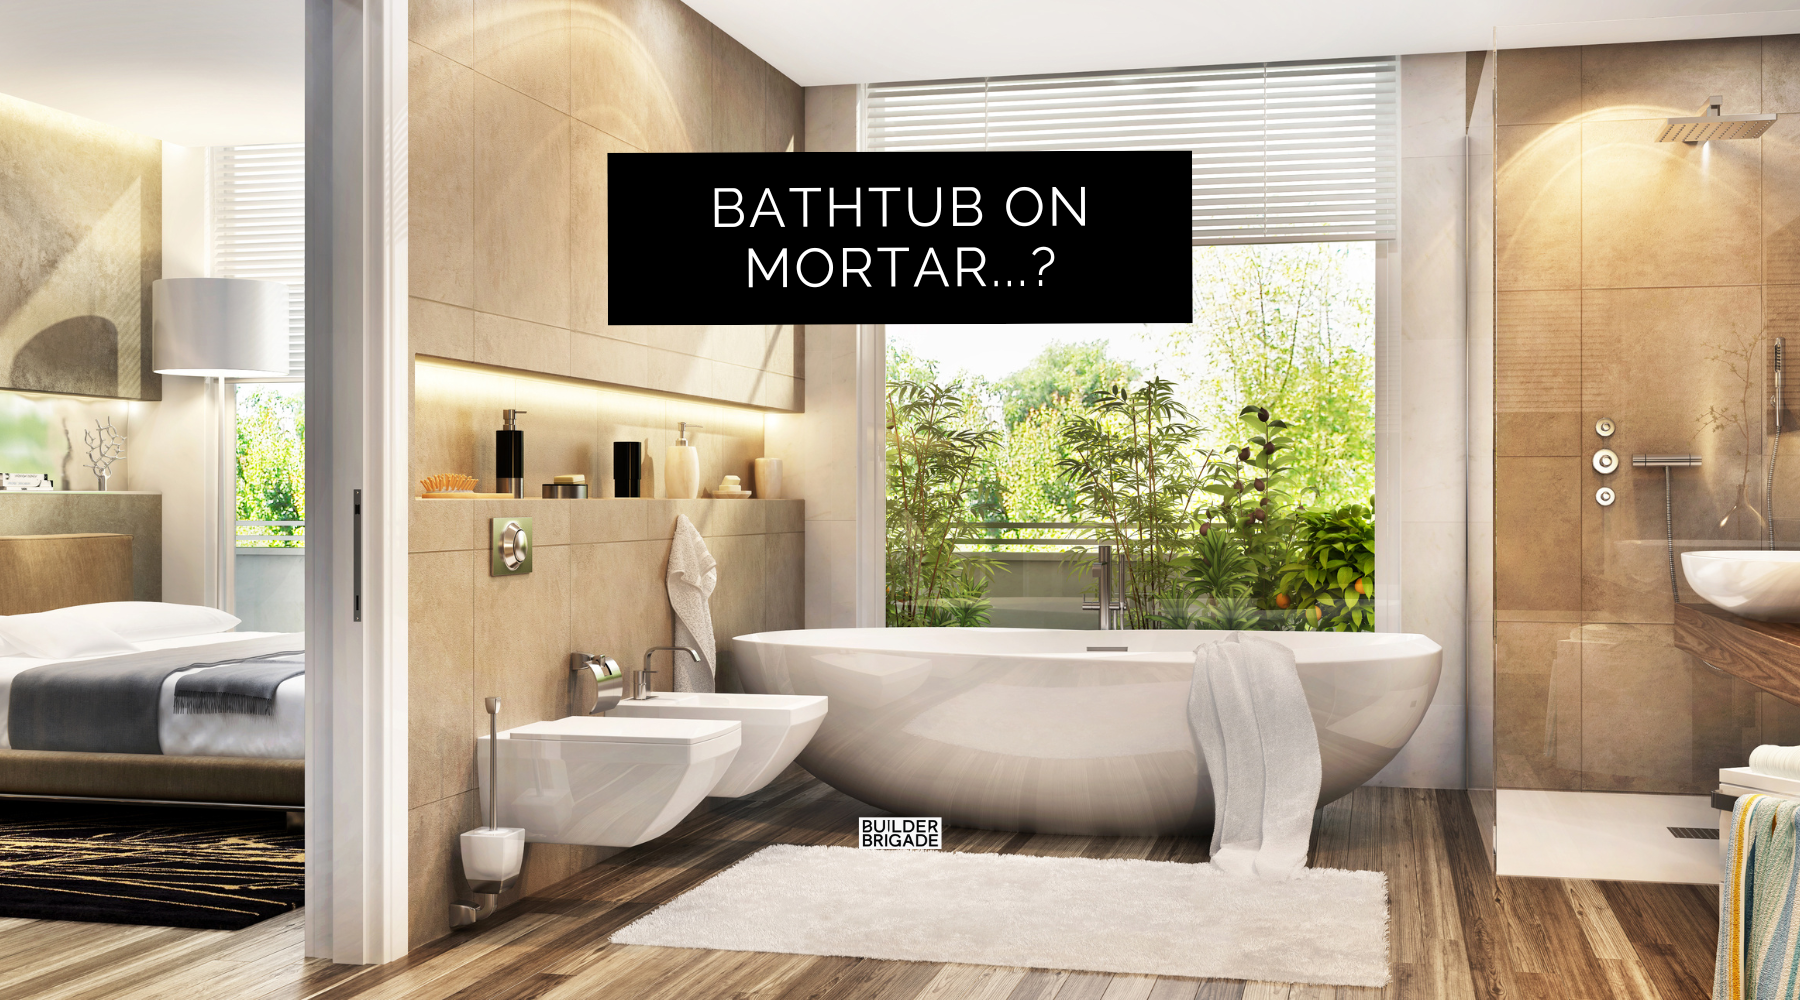
Do you really need to set your tub on mortar when building or renovating a bathroom? It’s an older technique that seems to have fallen off—at least from what I see around here—but it’s still worth considering.
Why Use Mortar?
Fiberglass tubs tend to flex when you step in, and mortar creates a solid base that reduces movement and prevents potential cracking over time. Without it, tubs can develop an annoying squeak or creak when stepped into, which is usually a sign of lack of support.
A shifting tub can also mess with your drain connections, increasing the risk of leaks. Keeping it locked in place with mortar prevents these issues and extends the lifespan of the tub by reducing stress fractures and keeping caulking and seals intact.
Plus, it ensures the tub sits level and gives it a high-end, built-to-last feel.
Foam versus Mortar
They do make foam alternatives instead of mortar, but honestly, I’ve never seen it used in person. Foam expands to fill gaps and is easier to work with, but it doesn’t provide the same rock-solid foundation that mortar does.
If you’re going for longevity and stability, mortar is the safer bet. Some builders might use spray foam as a quick fix, but if you want a tub that doesn’t shift, mortar is the tried-and-true method.
How It’s Done
If you’re wondering how this process actually works, here’s the quick version.
First, a thick layer of mortar is spread on the subfloor in the area where the tub will sit. Then, the tub is placed onto the mortar while it’s still wet, allowing the material to mold perfectly to the bottom of the tub.
Once it dries, it locks the tub in place, preventing any future movement.
The key here is not overdoing it—too much mortar can cause unevenness, and too little won’t provide enough support.
Overkill or Smart Move?
Some might say a mortar base is overkill, but if you want your tub to last longer, your tootsies to feel solid, and avoid annoying flexing or creaking, it’s worth it.
If you’ve ever stepped into a bouncy tub, you know how cheap it can feel.
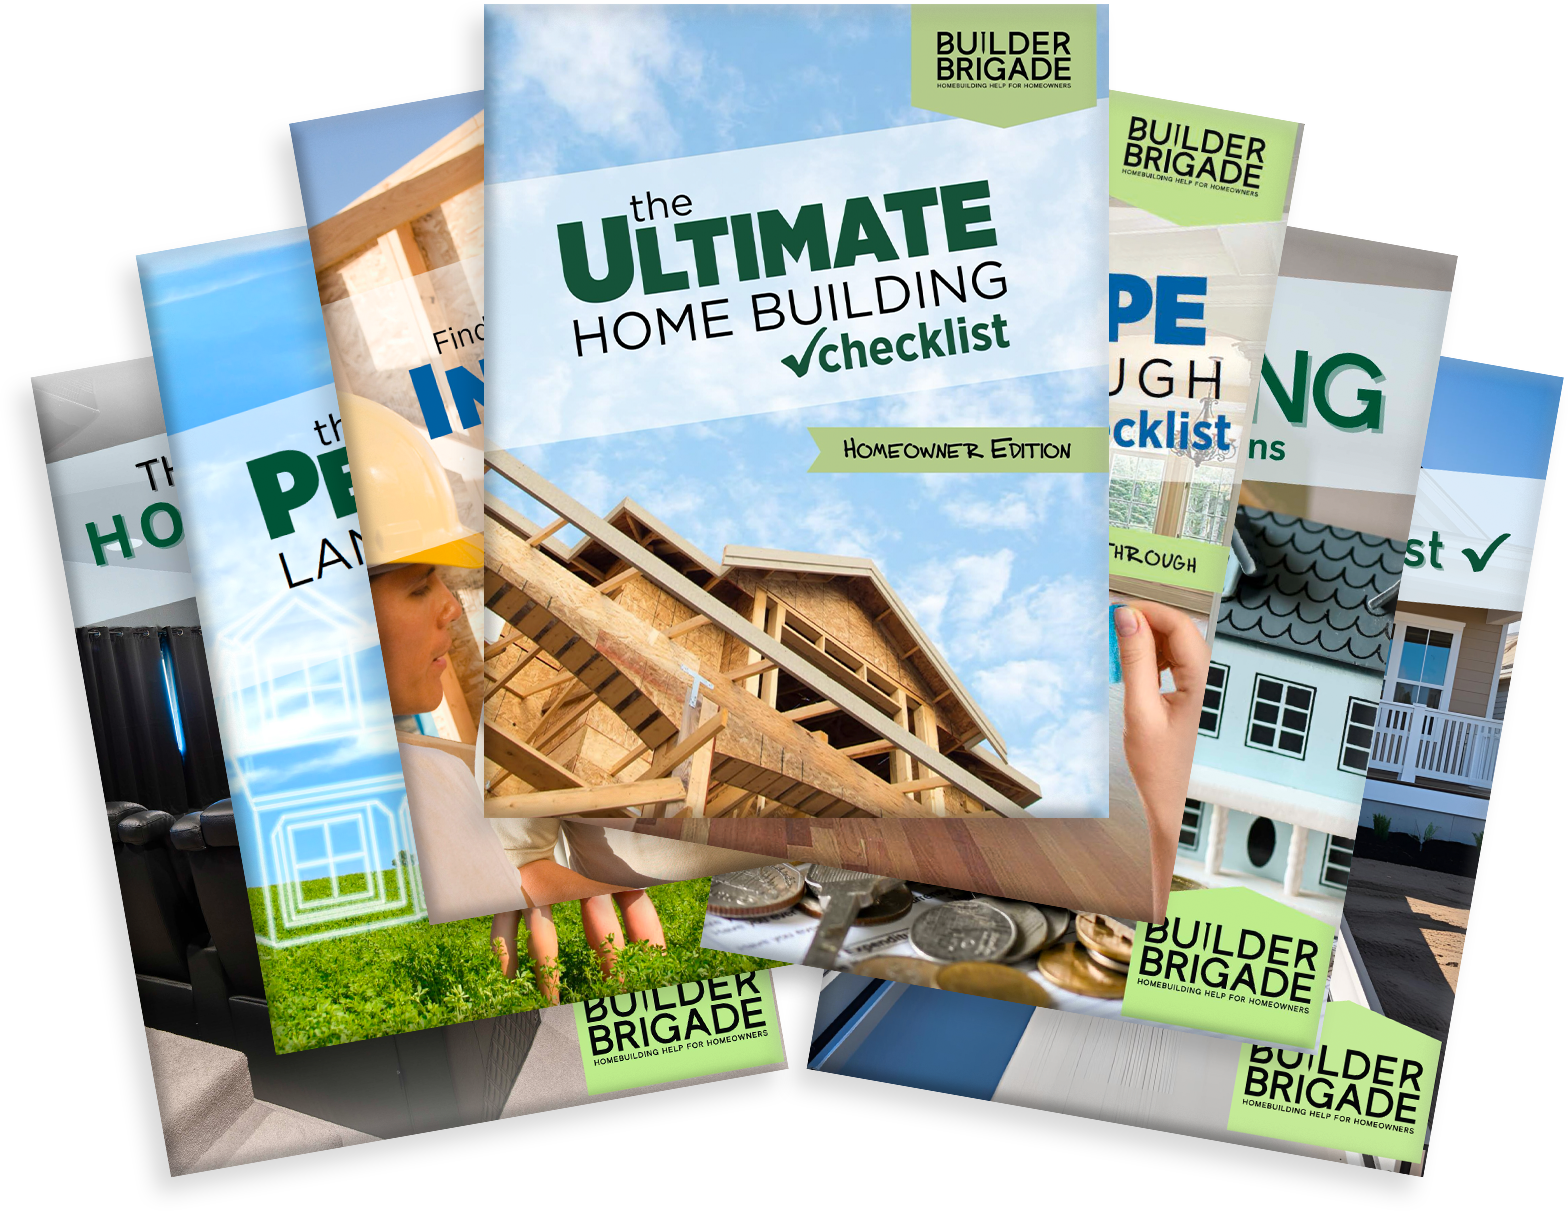
These new homeowner decisions are so much easier with The Ultimate Home Building Checklist! It includes all of the features, tips and advice you’ll ever need to make smart home decisions when having a house built..