

The Difference Between Level 4 and Level 5 Drywall
Most new homes get a Level 4 drywall finish.
That means the drywall installers tape and mud the seams, cover the screws, and apply additional coats of joint compound to create a smooth surface ready for paint.
For most walls, that's perfectly fine.
Level 5 takes it one step further.
Instead of only finishing the joints and fasteners, the drywall crew applies a thin skim coat over the entire surface, or uses another approved Level 5 finishing method.
This helps create a more uniform surface so the drywall face and finished joints reflect light more consistently.

Where I'd Spend the Extra Money
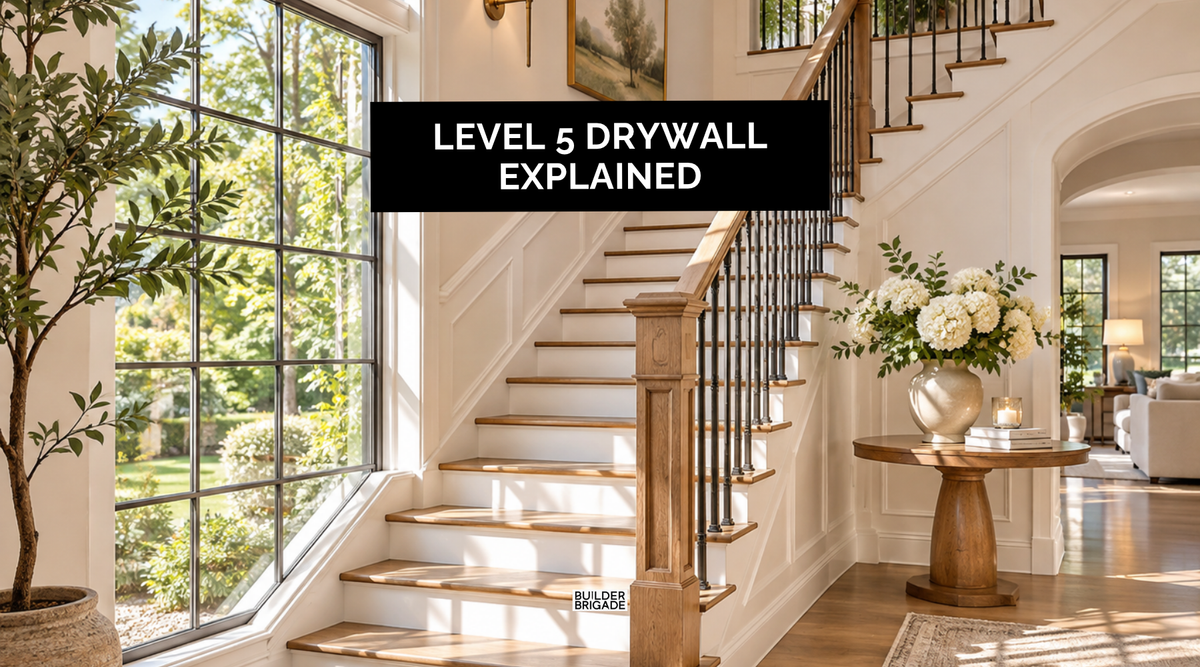
The biggest reason I'd upgrade to Level 5 is natural light hitting a wall at an angle.
Imagine you have a big window in your living room, and the afternoon sun shines across a long wall.
That light can reveal imperfections you might never notice under normal lighting.
You may start seeing where the drywall seams were finished, slight differences in texture, or small bumps that weren't obvious before the room was painted.
This is where Level 5 drywall can really help.
If I were building, I'd pay particular attention to walls next to large windows, sliding glass doors, and long hallways where light travels across the surface.
I'd also consider it in rooms with smooth walls and recessed or wall-washing lighting that highlights the drywall.
Those are the areas where I'd rather spend a little extra during construction than stare at visible seams every afternoon.

You Probably Don't Need Level 5 Everywhere
Here's where I'd save some money.
If you have a bedroom wall that doesn't receive much direct sunlight, I probably wouldn't bother upgrading it.
The same goes for walls that will be covered by cabinetry, built-ins, or other finishes.
A properly installed Level 4 finish can look great in normal lighting conditions.
And remember, Level 5 doesn't automatically mean a perfectly flat wall. Poor framing, bad drywall installation, or sloppy finishing can still create visible imperfections.
Also, paint matters. Dark colors and glossy finishes can make surface imperfections more noticeable, so I'd discuss the paint finish with your builder too.

Decide Before the Drywall Crew Starts
Walk through your house while it's being framed and think about where sunlight will enter each room.
Look at the large windows and figure out which walls will have light shining across them instead of directly onto them.
Those are the walls I'd point out to my builder.
I'd ask for Level 5 finishing in those specific areas and have the upgrade included in the drywall quote.
You can even mark the walls on your plans so there's no confusion about which surfaces are getting the extra treatment.
Once the walls are painted and the house is finished, upgrading them becomes a much bigger project. You'll have to deal with additional surface preparation, finishing, sanding, and repainting.
That's not something I'd want to pay for twice.

Spend the Money Where You'll Actually See It
If you're trying to decide where to splurge during your build, Level 5 drywall is one of those upgrades I'd be selective about.
I wouldn't spend the money on every wall just because it's available.
But if you have a beautiful living room with huge windows and sunlight running across the walls, I'd seriously consider it.
It's a relatively small detail compared with everything else going into your house, but it can make a noticeable difference in the finished room.
And if you're building a new home, this is exactly the kind of detail I cover in my Ultimate Home Building Checklist. It helps you catch upgrades like this before the trades finish their work, when they're much easier to add.