

As an Amazon Associate I earn from qualifying purchases.
You’re already spending money on the shower.
I’d make sure you’re spending it on a few details that actually make it better to use.

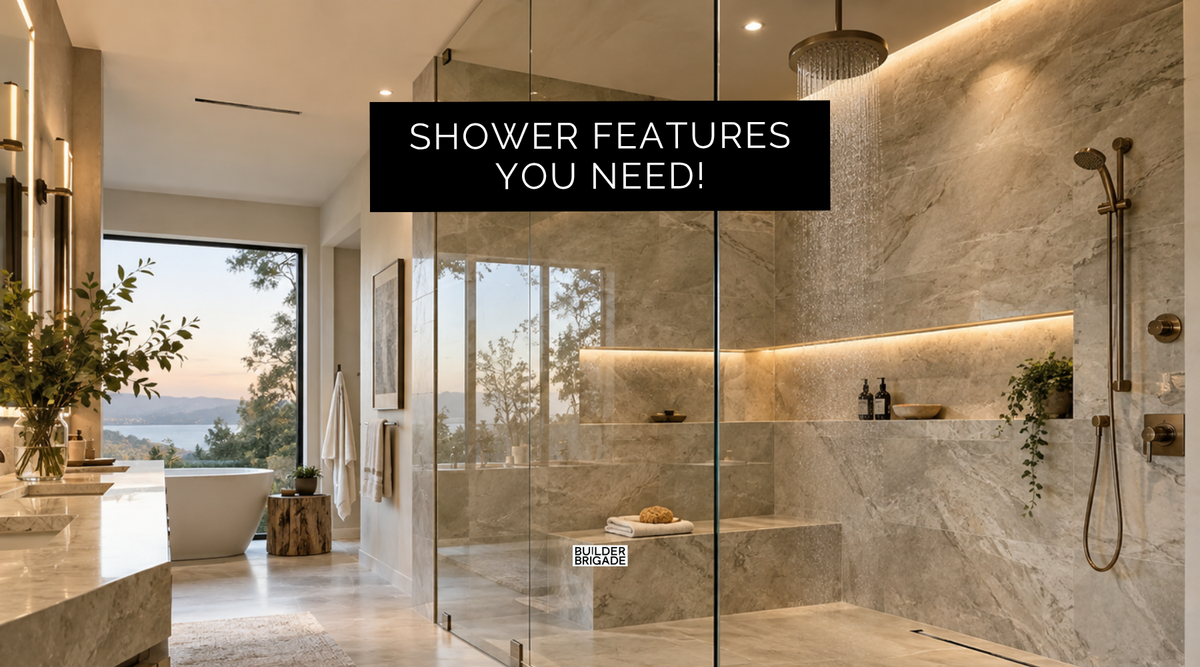
Make the Niche Bigger
If you have the wall space, I’d extend the shower niche as wide as you reasonably can.
A small niche fills up fast once you start putting shampoo, conditioner, soap, razors, and everything else in there.
You’re already framing and waterproofing a niche. I’d rather have extra storage than wish I made it bigger after the tile is finished.
Bonus points if you put the niche on a wall that cannot be seen when you enter the bathroom. Try to avoid the niche on exterior walls, you want as much insulation there as you can get.

Get a Drain With a Hair Basket
This is such a simple one.
Choose a shower drain with a removable hair basket or catcher built into it.
Instead of all that hair making its way farther down the drain, you can pull the basket out, clean it, and put it back.
Way easier than dealing with a clogged shower drain later.
Shop my favorite here: Drain Catch

Move the Shower Controls Away From the Shower Head
Think about where you’ll be standing when you turn the shower on.
If the controls are directly underneath the shower head, guess who gets blasted with cold water every morning?
I’d put the controls closer to the shower entrance so you can reach in, turn the water on, and let it warm up before stepping inside.

Or… Add an Access Hole in the Glass
Sometimes the layout doesn’t give you a good place to move the controls.
In that case, ask your glass company about an access opening in the shower glass.
You can reach through, turn the shower on, and pull your hand back out without opening the door and getting soaked.
I’d figure this out before ordering the glass so the opening is planned into the enclosure.

Make the Tub Panel Removable
If you’re installing a drop-in tub, don’t permanently seal every side of it.
I’d make the panel near the plumbing removable with magnets, concealed hardware, or another accessible system.
If the faucet, drain, or plumbing ever needs work, you want to remove a panel.
Not a bunch of tile.

Add a Shower Dryer
Here’s one you may not even know exists.
You can install a shower drying system that uses air to help dry the shower after you’re finished. It helps remove moisture faster and reduces mold and mildew risk.
It’s definitely more of a bonus upgrade, but if you’re building a high-end shower, I’d at least look into it before everything gets tiled.
Link: Airmada

Plan These Before Tile
None of these are huge changes during construction.
But moving shower controls, making a niche larger, planning an access panel, or adding a shower dryer gets a whole lot harder once the tile and glass are finished.
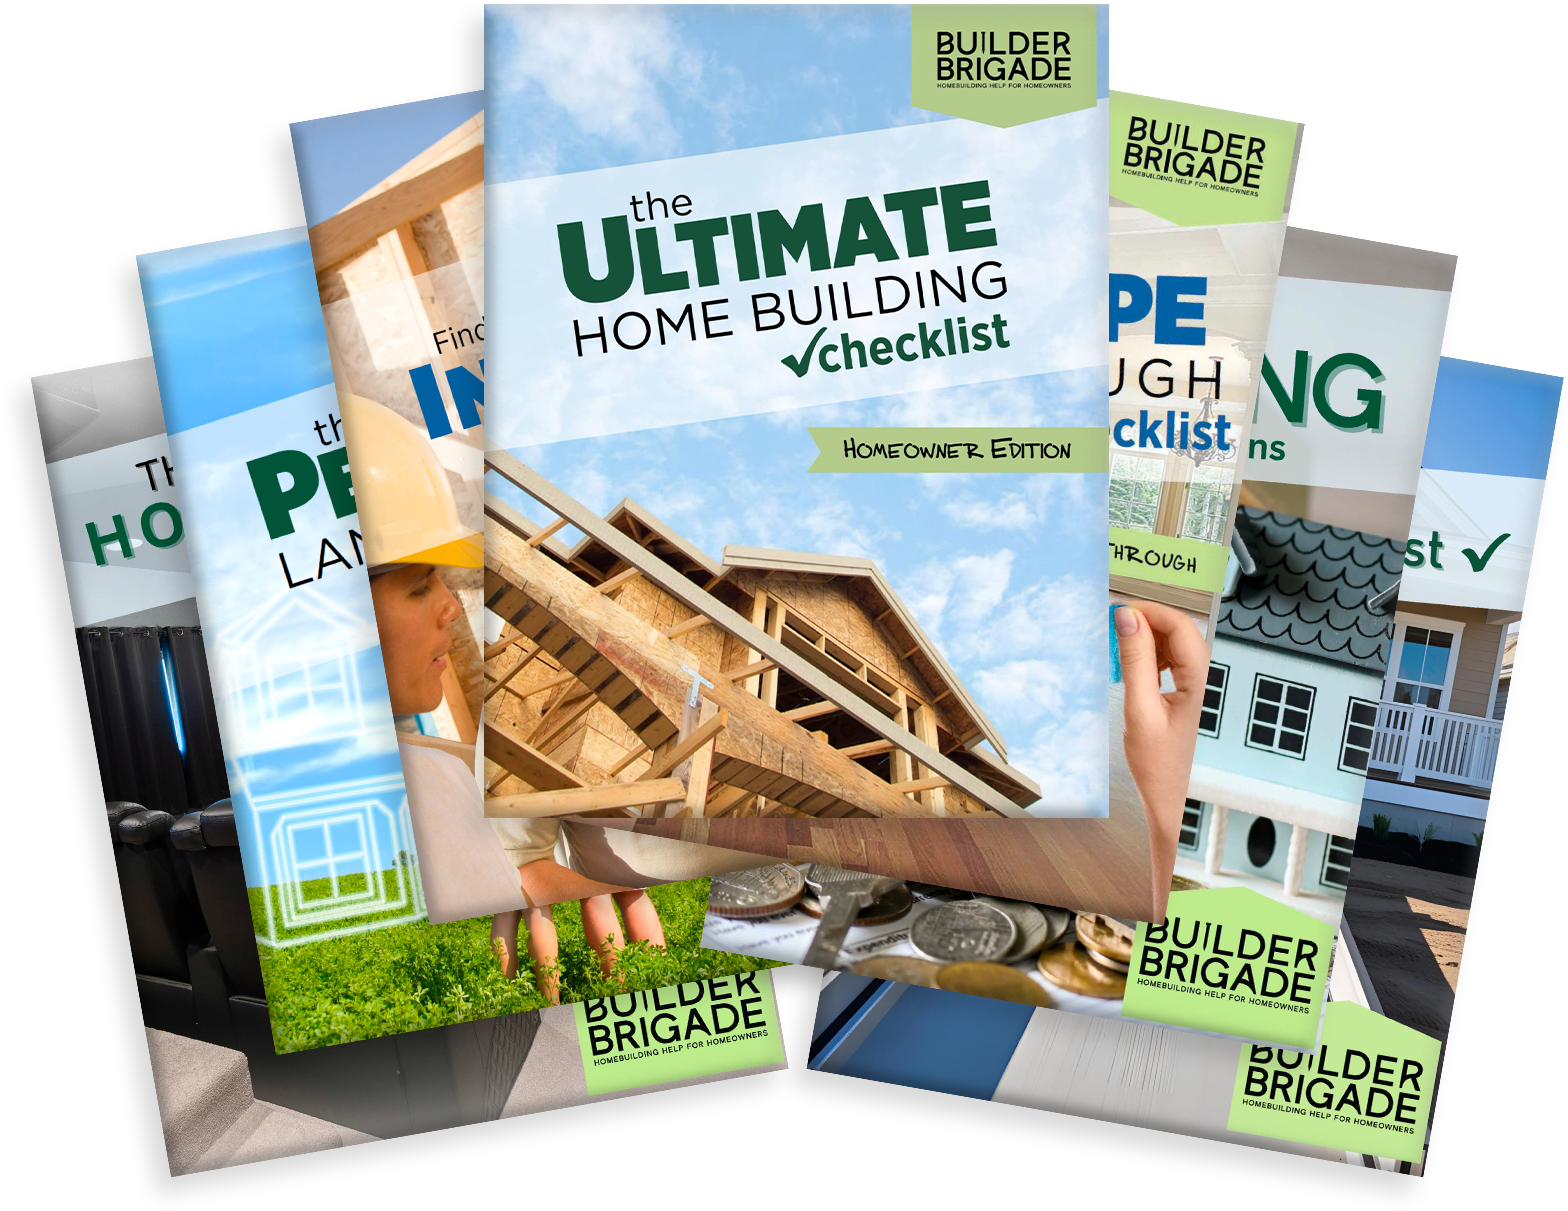
That’s exactly why I created the Ultimate Home Building Checklist. There are hundreds of little decisions like these that you need to think about at the right point in your build. Make them before everything gets covered up.