
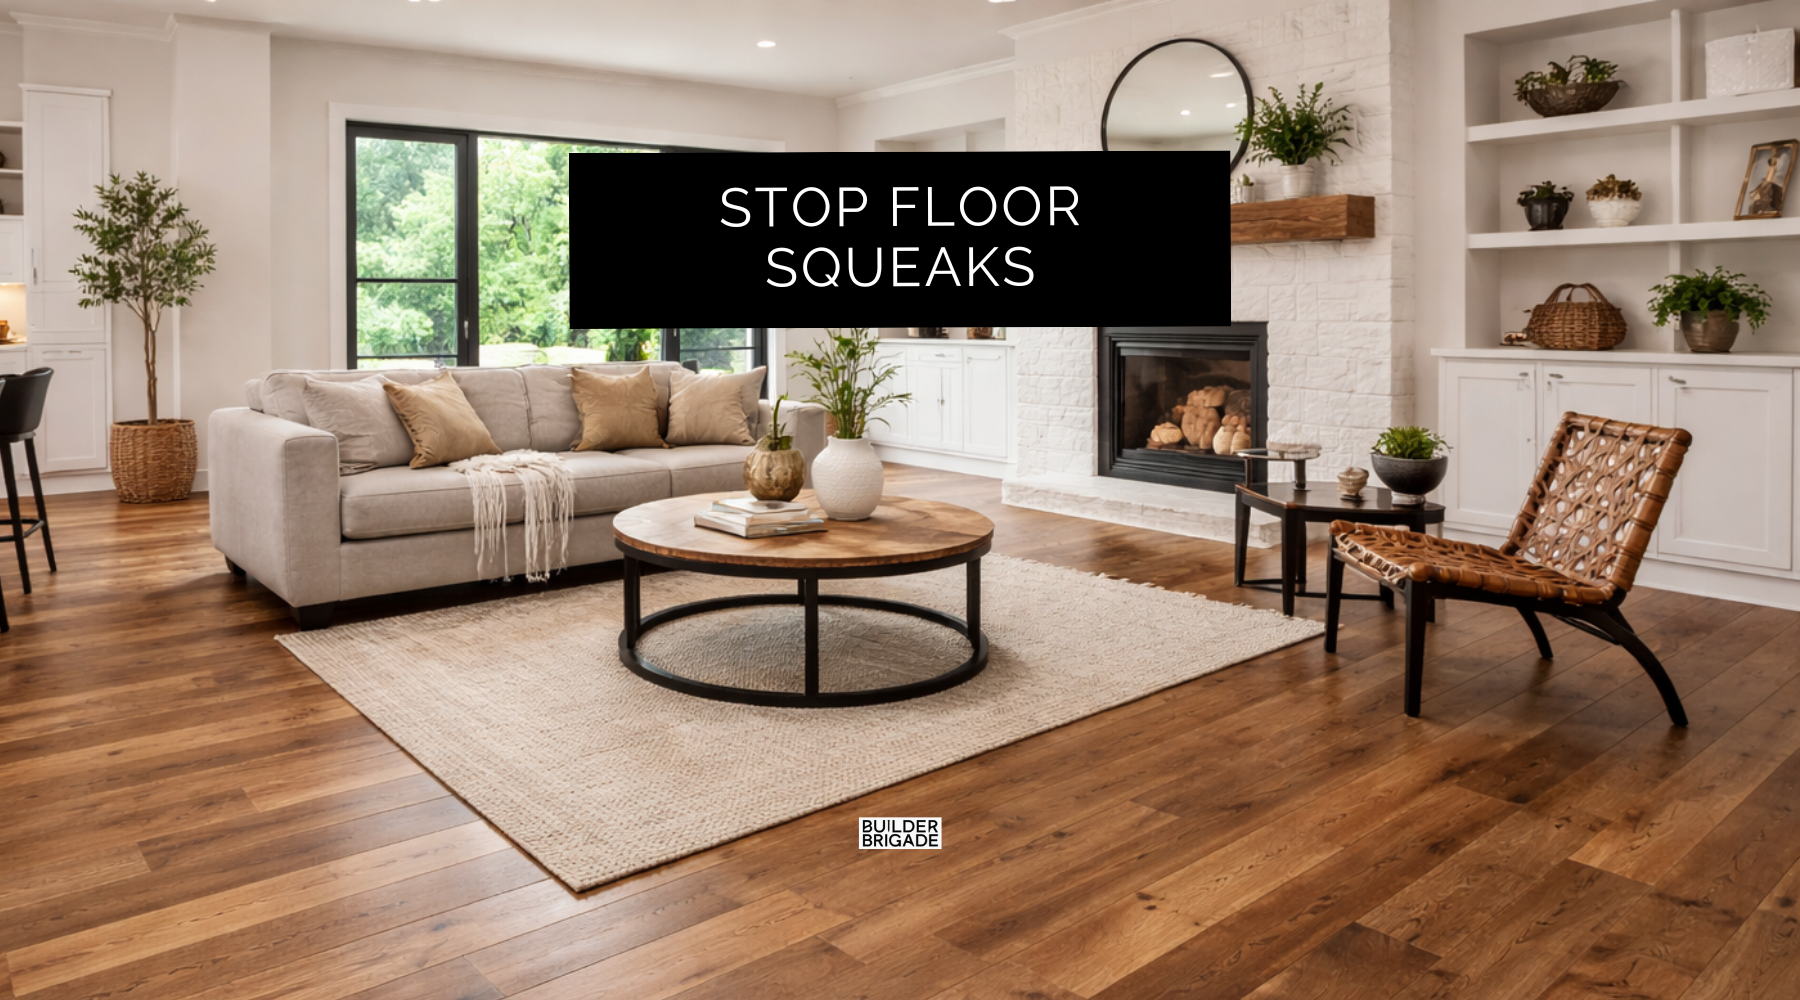
Because nothing kills that “new home” feeling faster than a floor that chirps back at you.
Glue Every Joist
This is your first line of defense. Run a bead of subfloor adhesive on every single joist before laying the panels. It locks the wood together and prevents friction that causes squeaks later.
Skip the glue, and you’ll hear about it every time someone walks across the room.

Use ¾” Tongue & Groove Advantech
This is the upgrade that pays off every single day. Advantech panels don’t swell or warp when wet, and their tongue-and-groove design locks tight. There’s no bounce, no rub, no noise!
It’s the difference between a floor that feels solid and one that creaks like it’s already 20 years old.
Screws Are Next Level
If you want it perfect, use screws.
They bite deeper and don’t back out like nails can. But if your crew’s gluing properly, ring-shank nails are still fine just make sure adhesive is under every seam. The combo of glue and fasteners makes for a silent, solid subfloor.

Nail Pattern Matters
Edges every 6 inches. Field every 12 inches. Those numbers exist for a reason, the spacing keeps the panel locked flat. Wide gaps mean flexing, and flexing means squeaks. Advantech even has little marking so you can quickly and easily identify where fasteners are required.
You’re not just fastening wood; you’re eliminating movement.

Add Blocking Where It Counts
Install solid blocking at all panel seams and anywhere people walk the most.
It ties the joists together and supports the seams to reduce movement.
Bonus move: glue the blocking too.
Leave a 1/8” Gap at Panel Seams
Wood expands with humidity. Without a gap, panels press against each other, rise slightly, and create friction that turns into squeaks. The tongue and groove areas don’t get this but the seams where panels come together without a T&G system need it.

Walk the Floor Before Finish Flooring
Once the subfloor is down, walk it. Hard. Listen for movement or noise. If you hear a chirp, drive a screw through that spot now not after flooring covers it.
Once finish floors go in, it’s game over for easy fixes.
Plan Details Like This Early
This kind of prep is what keeps small issues from turning into expensive regrets.
You’ll find it (and hundreds more like it) organized by phase in The Ultimate Home Building Checklist, the same system 20,000+ homeowners use to stay one step ahead of their builder. Use it to build right the first time.