
Framing happens fast and once the drywall goes up, it’s too late to change what’s behind the walls. If you miss it now, you’ll either live without it or pay more to fix it later. Here’s what to keep in mind while the framing is open and easy to adjust.
Ask for Blocking Wherever You Might Mount Something
Framing blocking is when builders add extra wood between studs so you have something solid to screw into later. This is a game changer for hanging things like curtain rods, TVs, towel rods, and toilet paper holders.
If you plan to add floating shelves, baby gates, or a porch swing, this is the time to mark exactly where they’ll go. No need for drywall anchors or guesswork down the road. Just solid support behind the wall, exactly where you need it.
Some popular spots to add blocking: curtain rods, heavy picture frames, thermostats, paper towel holders, stair handrails, shower glass panels, and even mounts for things like a Tesla Power Wall or hose reel outside. Write the height and location of each one directly on the studs. And once it's all in place, grab your phone and film or photograph every room. You’ll thank yourself later when it's time to drill into the wall.


Seal the Bottom Plate to Keep Air and Pests Out
The bottom plate is the piece of wood that runs along the base of each wall. If you leave a gap under it, air, moisture, and bugs can sneak into your home. A foam gasket works best for sealing this space, but caulk or spray foam can also help.
A good seal here keeps your house tighter, more energy-efficient, and less drafty especially around the baseboards.
More on this here: https://builderbrigade.com/blogs/learn/stop-air-and-pests-from-sneaking-into-your-home


Add Attic Plywood for Easy Storage Later
If your attic will be accessible, it’s smart to ask your builder to lay down plywood in certain areas during framing. It turns empty space into usable storage without having to balance on joists later.
Even if it’s just a small section above the garage, this is an easy upgrade that adds long-term value.

Recess Your Fridge So It Sits Flush with Cabinets
If you're planning on using a standard-depth fridge, it’s possible to build a recessed cavity into the wall behind it. This small detail allows the fridge to slide back and sit flush with your cabinets.
To do this, your builder will usually frame a 2x6 wall behind the fridge and notch in the space. It’s a simple move that makes your kitchen look more polished without spending extra money on a specialty appliance.

Plan Your Shower Niches Carefully
Built-in shower niches are great for holding soap and shampoo, but be careful where they go. Try not to place them on exterior walls. Doing that can reduce insulation and cause cold spots which no one wants in a shower.
The bigger the niche, the better. Take a moment to plan the size and height now so you won’t be stuck with a tiny shelf later.

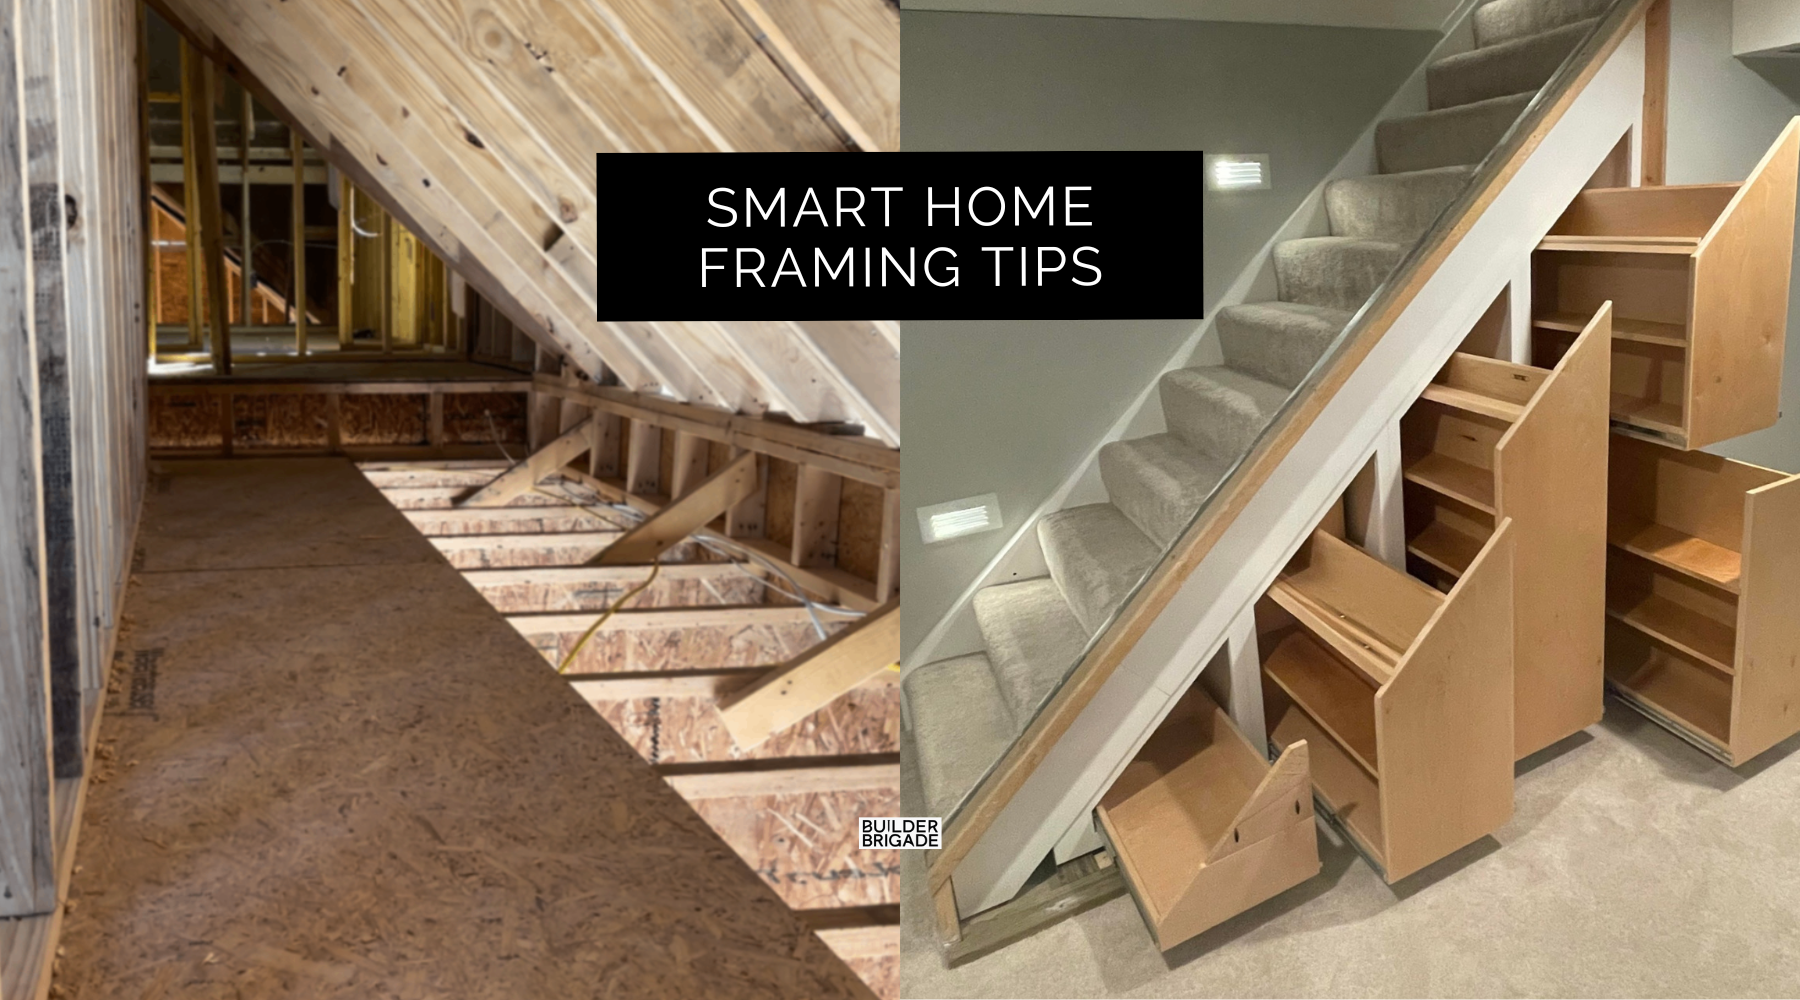
Use the Space Under the Stairs
The space under a staircase is often framed shut and forgotten, but it can be a great spot for storage. If you think ahead, you can add a small access door or cabinet. Whether it becomes a place for cleaning supplies, holiday bins, or even a hidden dog bed, you’ll be glad you made it usable.

Film the Walls Before Drywall Goes Up
This one might be the most important of all! Once framing, plumbing, and electrical work are complete but before the drywall goes up, walk through every room and film it with your phone.
This quick video becomes your blueprint. Months or years from now, if you need to find a stud, a pipe, or a wire behind the wall, you’ll know exactly where it is. It’s a five-minute job that can save you hours (and holes in the wall) down the road.
Plan Smart While the Walls Are Open
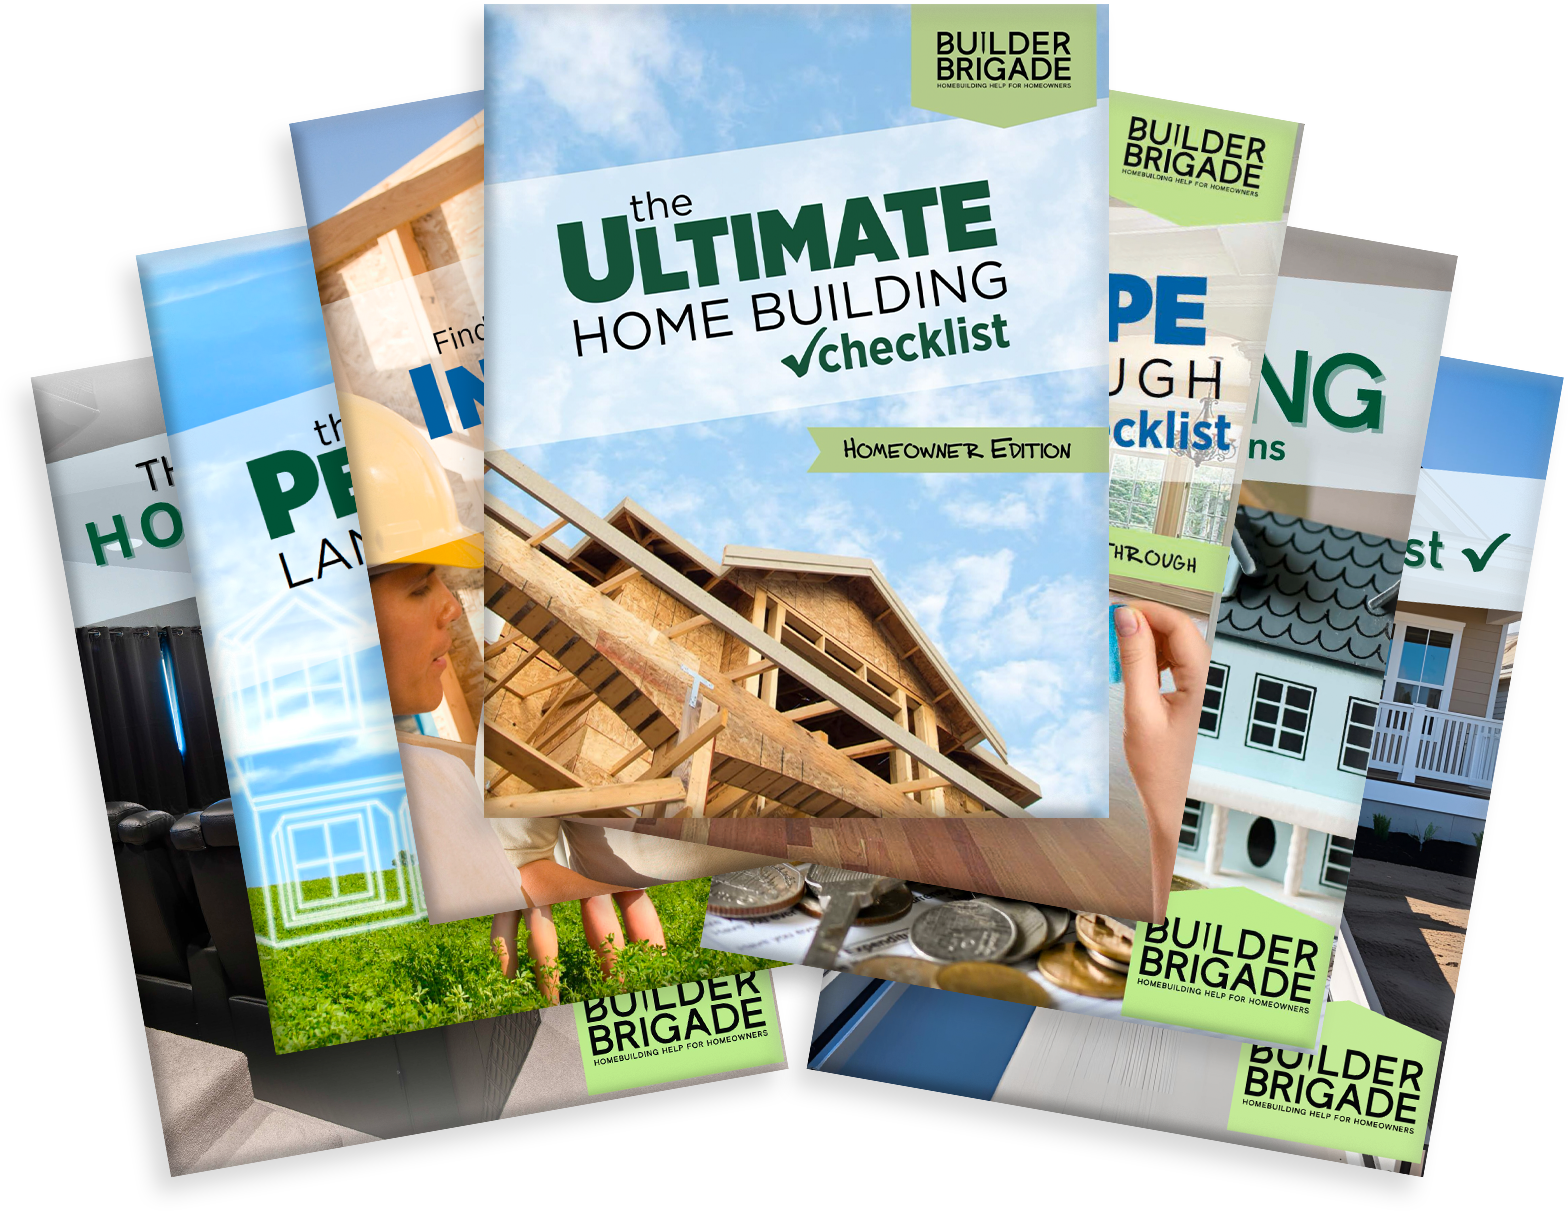
If you want more tips like these before it’s too late, make sure to grab the free Top 50 Homebuilding Tips download. This guide is packed with real-life insights that most homeowners only learn the hard way. From framing tips to smart electrical upgrades and space-saving extras, it will help you plan ahead with confidence.
Download it now and take the guesswork out of your new home build!